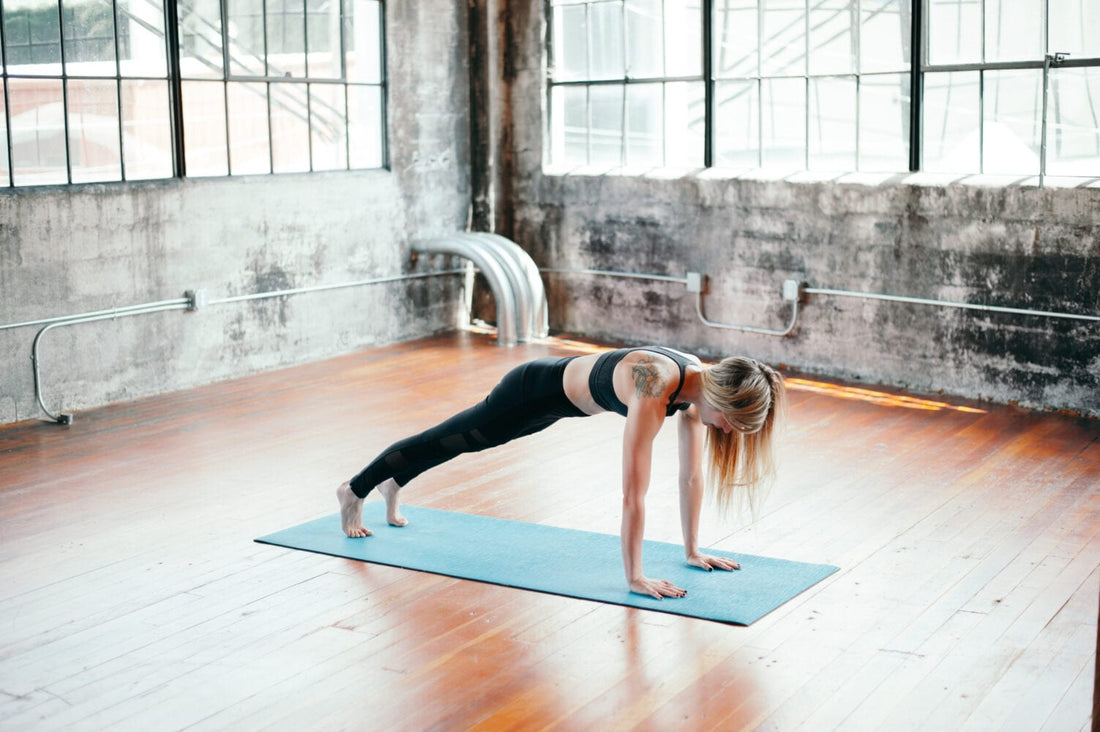
Are you looking to work the entire body and mind in one fell swoop? Plank pose is that powerhouse shape that can do all the things that you didn’t even know you wanted and needed.
Khumbakasana is one of the possible Sanskrit terms for this shape, which translates to breath retention pose (which makes sense because people forget to breathe when holding a solid plank!), although there seem to be a few different Sanskrit names people are using for it.
I’ve never heard the Sanskrit term used in a yoga class.
Plank is sometimes rushed through or held without much thought for how the body is working, so approaching this pose with intention and mindfulness will allow you to gain the maximum benefits while also protecting your body.
What are the benefits of plank pose?
Physically, plank pose has full-body benefits.
It’s hard for a reason, but once we talk about ways to activate and engage even more than you maybe thought possible, plank becomes a powerful shape rooted in stability within the muscles and stacked bones.
So let’s unpack that a bit.
The more obvious body parts that are getting some work here are the arms and the core. You’re lengthening the entire body while also strengthening the entire body.
Your shoulders are getting stronger, your back is getting stronger, your neck is getting stronger, firm booty, even your feet are getting stronger!
Plank has the power to stretch the ankles, the toes, the wrists, the calves. It can work the entirety of your front and back body if you put some extra effort into it. It can reduce back pain, improve your posture and balance, and relieve stress.
So why aren’t you doing it? Maybe you should go hold a plank and then come back and finish this.
Or better yet, finish this article so that you can hold plank in a safer and more engaging way.

Step-By-Step Instructions For Doing Plank Pose
- You can get into plank from a variety of shapes. Maybe you lift the knees from tabletop, or you inhale forward from a downward-facing dog. Maybe you step or hop back from a halfway lift or forward fold. The options are pretty wide open. For this tutorial, we will discuss how to get into plank from a halfway lift.
- You’ve inhaled into a standing half forward bend pose. Your spine should already be lengthened here with your belly squeezing up and in. Now set both hands down shoulder-width distance apart and step back towards a plank shape (feet hip-width apart with the ball mounds of the feet on the mat). There’s your most basic shape. Let’s elevate it!
- We’ll start from the ground up. Press your heels towards the back of the room (or backward if you’re not in a room). Press palms into the ground imagining that your arms and shoulders are growing and lifting up out of the wrists and then out of the shoulders. You want to lift the chest up slightly higher than the backs of the shoulder blades so that you feel a small dome in the back between the shoulder blades. It’s easy for the chest to sink in and this isn’t so great for your shoulders.
- You want a long line from the crown of your head to your heels. If you have to put your butt really high in the air to keep your shape, or your booty sags below that straight line then it is probably best to do this shape with your knees down on the ground in supported plank pose for a little extra core support (you still build strength, but you protect your spine).
- Energetically, isometrically, pull your arms towards each other while simultaneously pushing your hands away from each other (it’s hard! Kind of like patting your head and rubbing your belly at the same time). Then with this same idea, pull the inner thighs and legs towards each other while pushing the feet away from each other. And then, pull the heels of the hands towards the toes, toes towards the hands. Holy moly! I bet you feel it now.
- But what about your butt? Is it engaged? Squeeze those glutes and pull the belly up and in towards the spine.
- Oh yes, probably the most important step in this pose. Breathe!
Adding some variation…

So you’ve been practicing this shape properly for quite some time. You feel solid in the idea of adding onto it. There are lots of variations that you can do in plank pose, so I’ll share a handful of options.
- For this variation, it’s really important that you have a solid foundation, that your core has been exercised in a “regular” plank for quite some time. It’s easy to hurt yourself if you push past your limits before you’re ready. If you feel brave, you can try extending one arm, say your right arm, out in front of you. Then you extend the opposite leg, say your left leg, and extend it back, lifting the ball mound of the foot off the ground. The extended arm and leg become part of your straight line. It’s very easy to collapse into your shoulders or your back here, so be mindful!
- Bring the knees to the mat. You can keep the same engagement of the entire body as listed above. Now, you just have a little extra support for the midsection, particularly the spine.
- In the plank shape, take a breath in, as you breathe out rock both heels to one side, let’s say the left. Then inhale the right arm up towards the sky. Voila! Side plank (see image below). It’s important to really lift up and out of that left arm and shoulder so you don’t hurt your shoulder here. Hips should draw up towards the sky instead of sagging down (protect the spine). Legs and glutes are active and engaged.
- Another variation that isn’t really a variation on the shape itself, but a flow between two shapes that connects you with your breath and your body. In plank, take a breath in. As you exhale, take the full length of breath to press back towards downward facing dog. On the full breath in, slowly rock back forward towards plank. Breathing out, you move back into downward dog. I like to incorporate at least 3 rounds of this in my classes and in my personal practice.

Plank pose might look boring. It might seem too hard (it could be). But with practice and mindfulness, you’ll start to notice these full-body benefits within no time at all. You’ll feel stronger, more stable. You might feel grounded. Your back might feel better and you seem to be sitting up straighter in your desk at work.
Give it a try!
Do you struggle with plank or do you advance to all sorts of variations to side planks? Comment below, I'd love to hear from you!
xx
Sam M.


